Data Annotation
For training AI models, as well as for assessing the quality of already trained models, we need data with ground truth targets. These annotations can be manually created in a photo editor or a dedicated annotation tool.
Neura CVAT is a specialized computer vision annotation tool developed by Neura, built upon the foundation of the open-source CVAT platform. It provides a powerful and user-friendly interface for labeling images and videos for computer vision tasks.
The system offers comprehensive annotation capabilities including bounding boxes, polygons, and keypoints, along with multi-user labeling functionality for efficient team workflows. These features are essential for tasks like object detection, segmentation, and tracking.
Neura CVAT enhances the base CVAT platform with custom features specifically designed for Neura’s AI development pipeline, while maintaining the robust and flexible nature of the original system.
Note
The guide is simplified to focus on the most common usage scenarios. For more advanced features and options, please refer to the official CVAT documentation.
Note
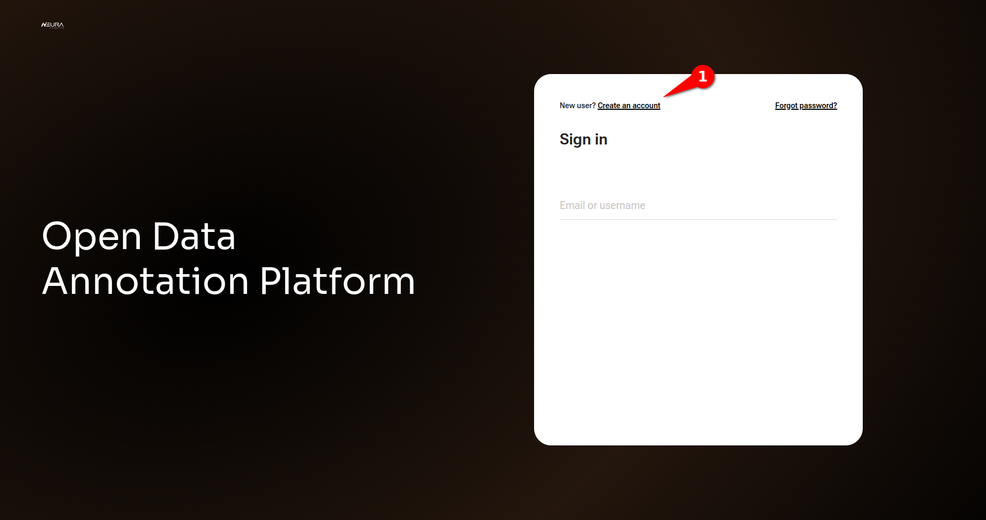
Sign in / Sign up
Access Neura CVAT through your web browser at http://192.168.2.14:8050.
In the start page, you will encounter a login interface, where you enter your email and password.
New users can register by clicking Create an Account:
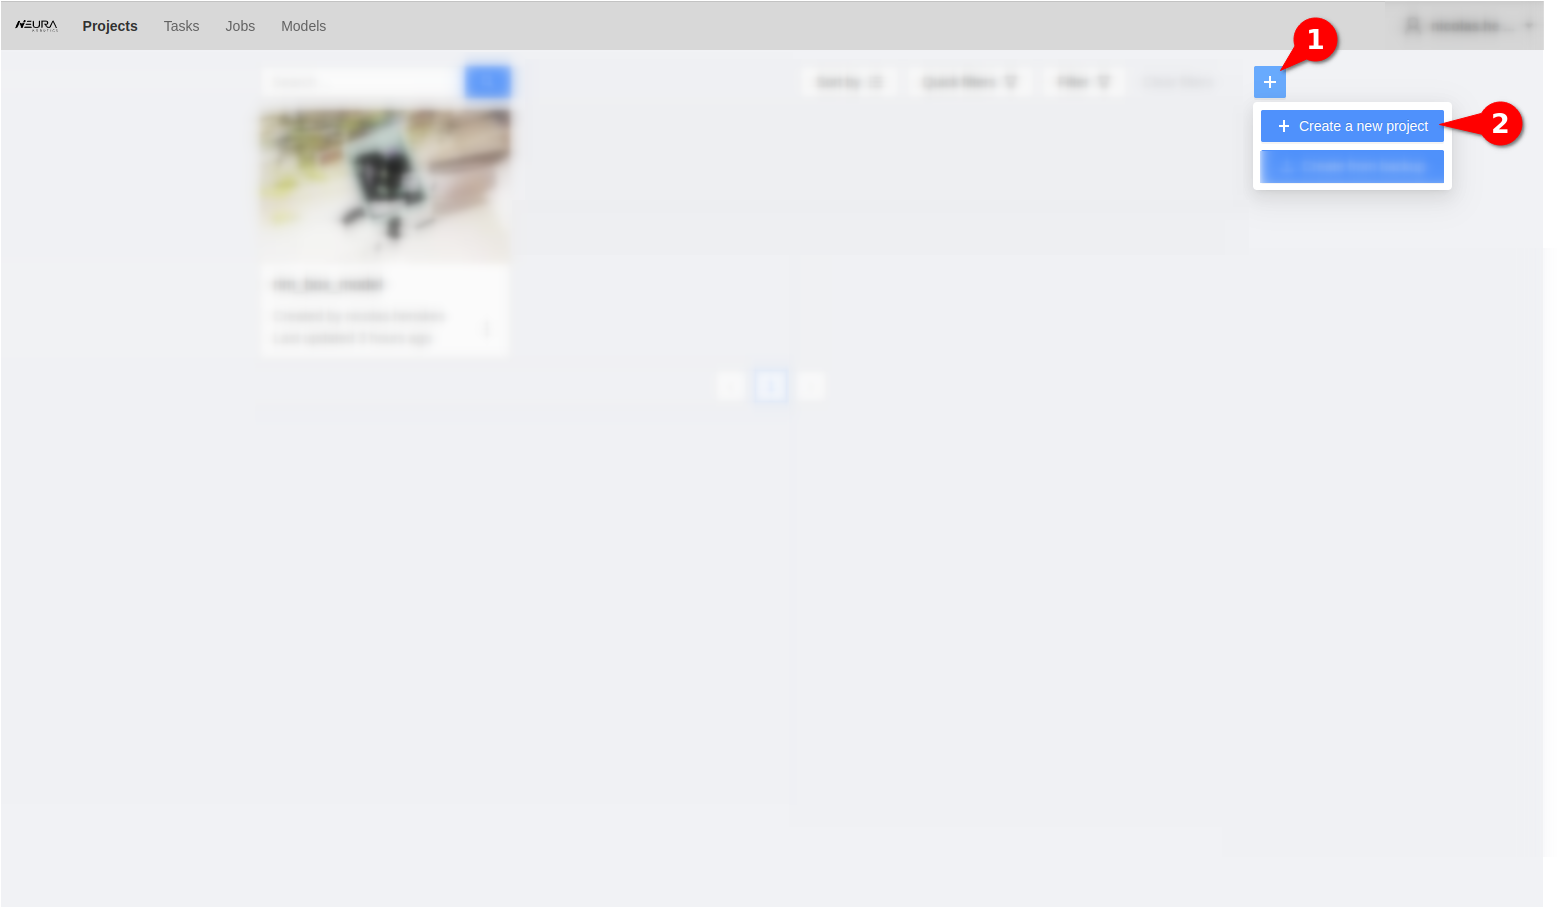
Create a Project
Labeling is managed through Project functionality. Within each Project, a user can set up task-specific settings, track changes and create versions.
Click + and proceed to Create a new project.
Provide a name for your Project and add labels. Click Submit & Open to complete. Later, you can edit the name, as well as add, modify or remove labels.
Create a Task
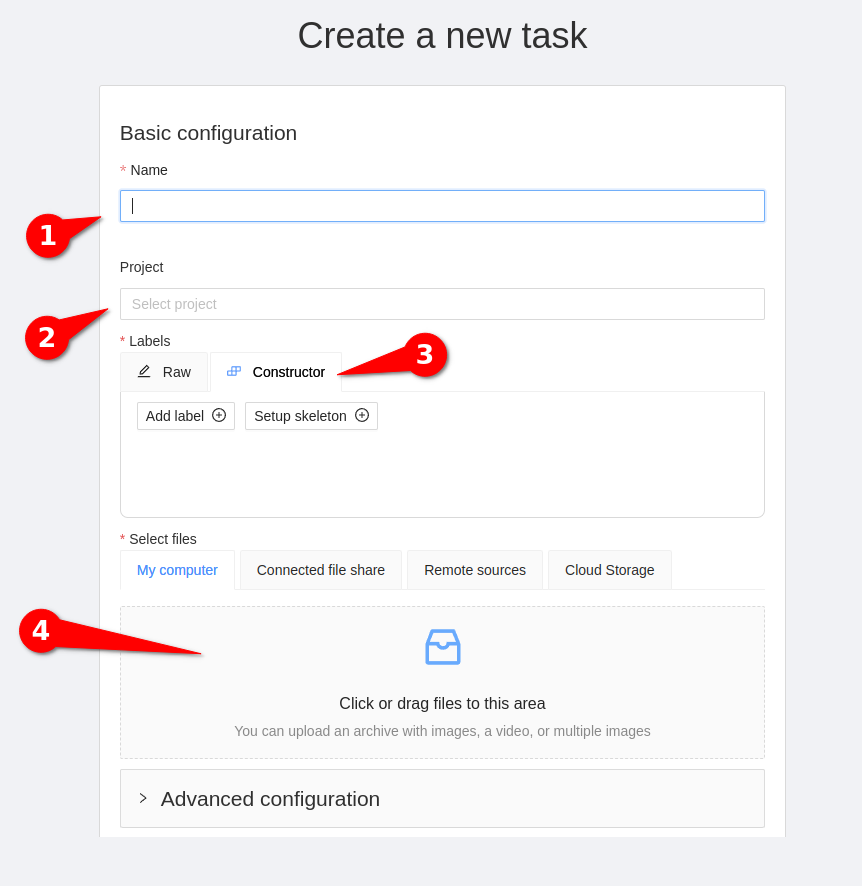
Click on +. Assign a name to the task, associate it with a project, and proceed to Select files. Add images either by dragging them into the designated square or clicking on them. Click Submit & Open to complete.
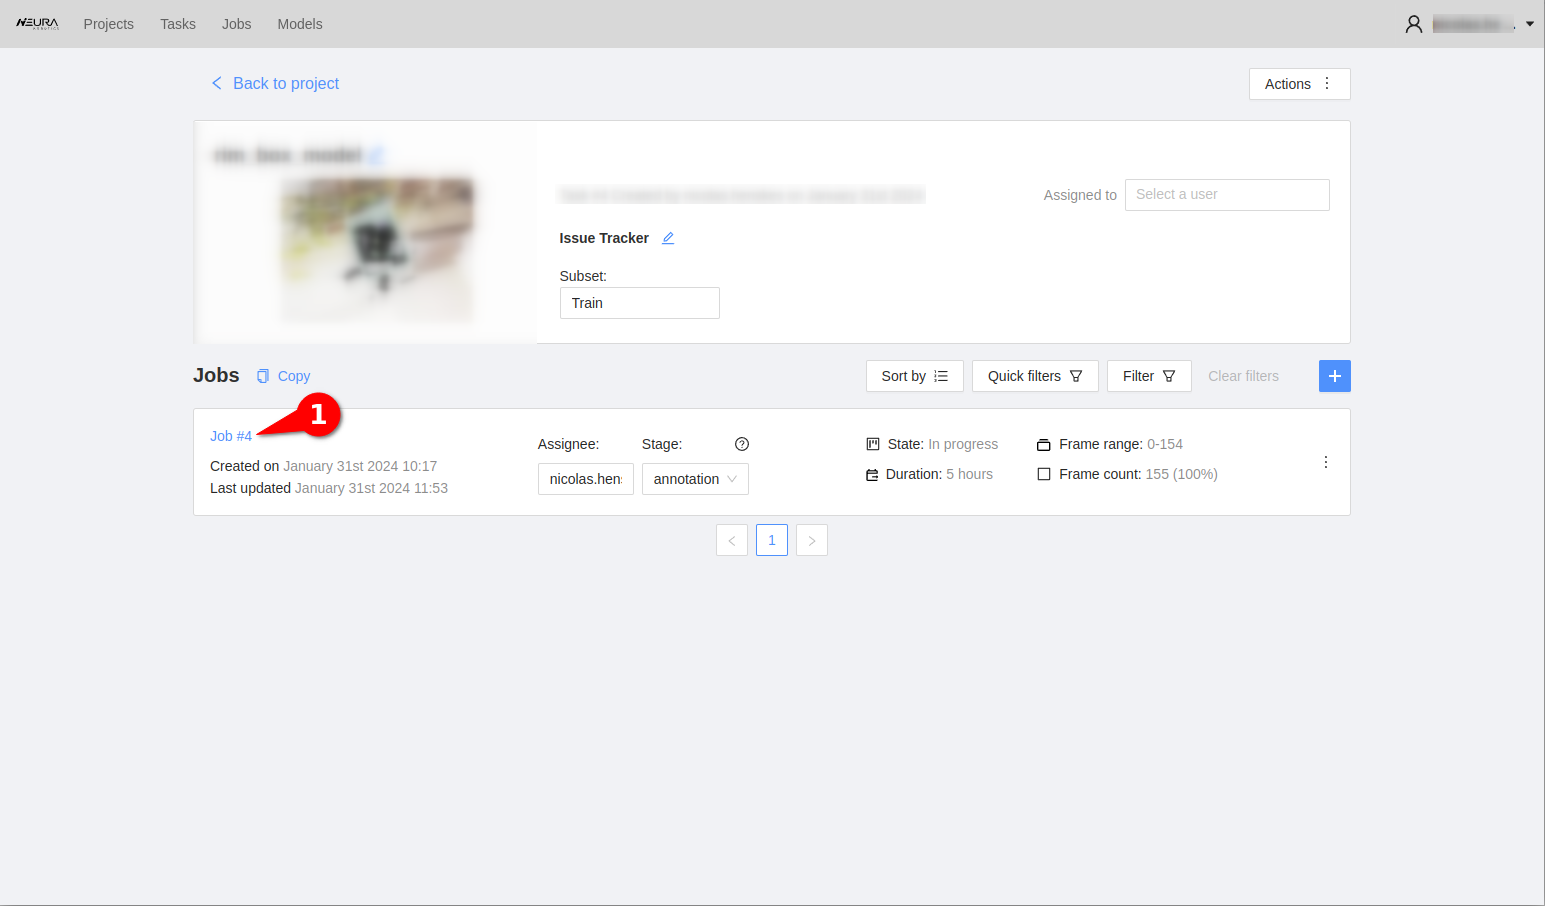
After that, a list of Jobs should appear. You can start the annotation process by clicking on Job#1.
Annotation Menu
AI Tools
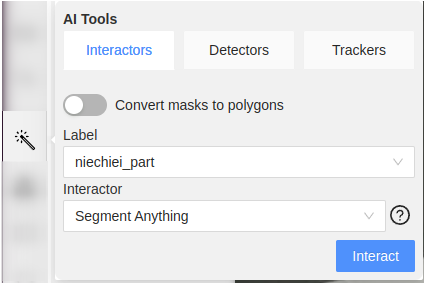
AI Tools include Interactors, Detectors, and Trackers used for automatic annotation.
Interactors allow labeling objects in an image or video, or refining existing annotations. Select a pretrained model, click on an object, and get an automatically generated object mask for this object.
Detectors are designed to automate the annotation process of large image or video datasets. Choose a pretrained object detection model, and get an automatically generated bounding boxes for objects in an image or video.
Trackers are specifically tailored for annotating moving objects in videos, e.g., for object tracking in surveillance or action recognition.Trackers match the objects across frames in a video sequence to maintain temporal consistency of annotations.
OpenCV Tools
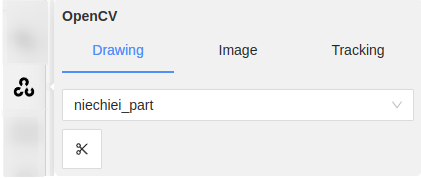
OpenCV Tools include Drawing, Image, and Tracking.
Drawing allows adding shapes, lines, and other graphical elements to an image or a video frame. With Drawing, a user can mark regions of interest or highlight specific areas or objects within an image.
Image allows adding metadata, text, or labels to an image to descriptive information or labels for images within a dataset. With Image, a user can add descriptions or comments on images, add labels or categories.
Tracking allows following and annotating object motions across video frames. Tracking can enable the analysis of object trajectories and evolution of dynamics cenes, as well as annotation of moving objects in videos, such as vehicles or pedestrians.
Apart from automatic tools, there are manual annotation options providing full control over the annotation process.
Click is the basic labeling operation, performed by pressing and releasing the left mouse button.
Draw a Rectangle
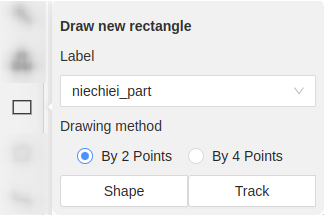
Target application. Rectangular annotations (also known as bounding boxes) are used for object detection and object tracking, e.g., as the initial regions for tracking.
Procedure. Rectangles are defined by clicking the corner points. Axis-aligned rectangles can be annotated with two diagonal corners: Top-Left and Bottom-Right. Oriented rectangles can be annotated with four corners.
Draw a Polygon
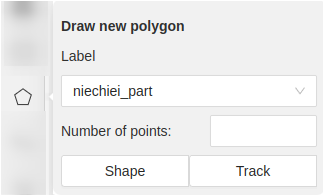
Target application. Polygonal annotations are used for object segmentation, object detection, and object tracking. With polygons, objects can be outlined precisely. Besides, polygons can serve as initial regions for tracking algorithms.
Procedure. Polygons can be labeled by clicking on vertices sequentially. The last vertex is connected to the first, forming a closed polygon.
Draw a Polyline
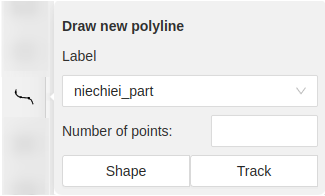
Target application. Polyline is a series of connected line segments. With polyline, a user can outline objects or define paths or trajectories within a scene for object segmentation, detection, and tracking.
Procedure. Polylines can be labeled by clicking on vertices sequentially. The last vertex is connected to the first, forming a closed shape.
Draw Points
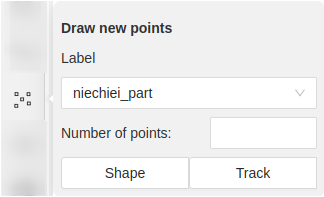
Target application. Points mark locations of interest within an image, that can be used for keypoint detection and as a weak supervision for other computer vision tasks.
Procedure. Points can be labeled by clicking on the desired location in an image.
Draw an Ellipse
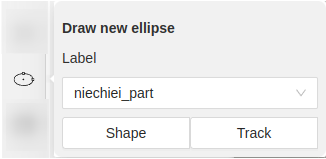
Target application. Ellipses can be used for labeling objects with elliptical shapes for object segmentation, detection and tracking.
- Procedure.
Specify the coordinates of a center
Define the major and minor axes lengths
Specify the rotation angle.
Draw a Mask
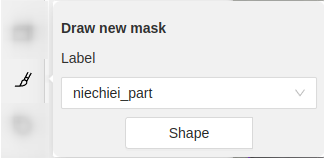
Target application. Pixel-level binary masks can be used to define regions of interest for object segmentation, detection and tracking.
Procedure. Masks are drawn on top of an image using a painting tool.
Setup a Tag
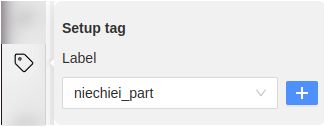
Target application. A tag allows categorizing annotated objects so that they can be easily found, sorted, filtered or analyzed.
Procedure. An object can be assigned with a tag via Setup tag. The tag can be selected from the existing tags, or a new tag can be created.
Basic Image Manipulation

The basic image manipulation functions include:
allows navigating and interacting with the CVAT interface: pointing, clicking, and selecting various elements on the screen.
allows moving the image within the CVAT workspace to focus on specific areas of the image.
rotates the image clockwise or anticlockwise.
allows adjusting the view to fit the entire image within the CVAT workspace to get an overview of the entire content.
allows specifying an area or region in the image that you want to focus on or annotate.
Menu and Navigation
The top menu features controls for task management.
Adjacent Controls
allows saving current progress and annotations.
reverses the last action performed.
restores an action that was undone.
Utility Panel
expands the CVAT interface to occupy the entire screen.
provides detailed information about the annotation task.
allows filtering annotations.
allows switching between task modification or review mode.
Object Configuration Panel
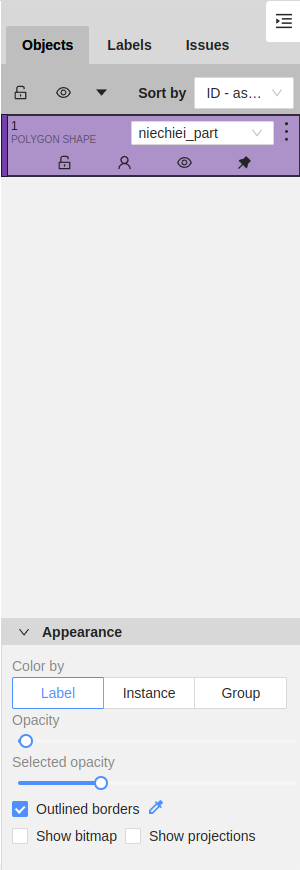
displays a list of annotation objects in the current task.
allows management of annotation objets and assigning labels to them.
displays issues or comments related to the annotations.
allows sorting the displayed annotations based on certain criteria, such as label, creation time, or other relevant parameters.
allows selecting the shape type for annotation objects, with “Polygon Shape” being one of the menus.
provides an access tp visual appearance of annotations, such as color, opacity, and border settings.
allows color-coding annotations based on their labels, aiding in visual distinction between different classes.
allows grouping instances of the same label.
opens transparency settings for annotations (both selected and unselected states).
allows toggling between having outlined or filled borders for the annotation shapes.
displays or hides bitmap images related to annotations.
displays or hides projections associated with annotations.
Shortcuts
Shortcut |
Action |
|---|---|
|
Open/hide the list of available shortcuts |
|
Repeat the latest procedure of drawing with the same parameters |
|
Activate or deactivate mode to merging shapes |
|
Activate or deactivate mode to splitting shapes |
|
Activate or deactivate mode to grouping shapes |
|
Reset group for selected shapes (in group mode) |
|
Cancel any active canvas mode |
|
Copy shape to CVAT internal clipboard |
|
Paste a shape from internal CVAT clipboard |
Hold |
When pasting shape from the buffer for multiple pasting. |
|
Make a copy of the object on the following frames |
|
Changes a label for an activated object or for the next drawn object if no objects are activated |