Annotate Real Data
Follow this guide to learn how to use Neura CVAT for uploading images, creating annotations, and generating an exportable dataset suitable for AI model training.
Uploading Images
Using an external PC, access Maira GUI at http://192.168.2.14:8080 and switch to AI Hub Mode.
Click and a new tab to Neura CVAT will open.
Sign up if you are a new user or log in if you already have an account.
Create a new Project.
Create a new Task.
Note
If you have collected images using the Real Data Collection Wizard and exported it using the option, you may import that unlabeled dataset directly into a CVAT task by selecting and selecting the name of the exported, unlabeled dataset.
Annotating Images
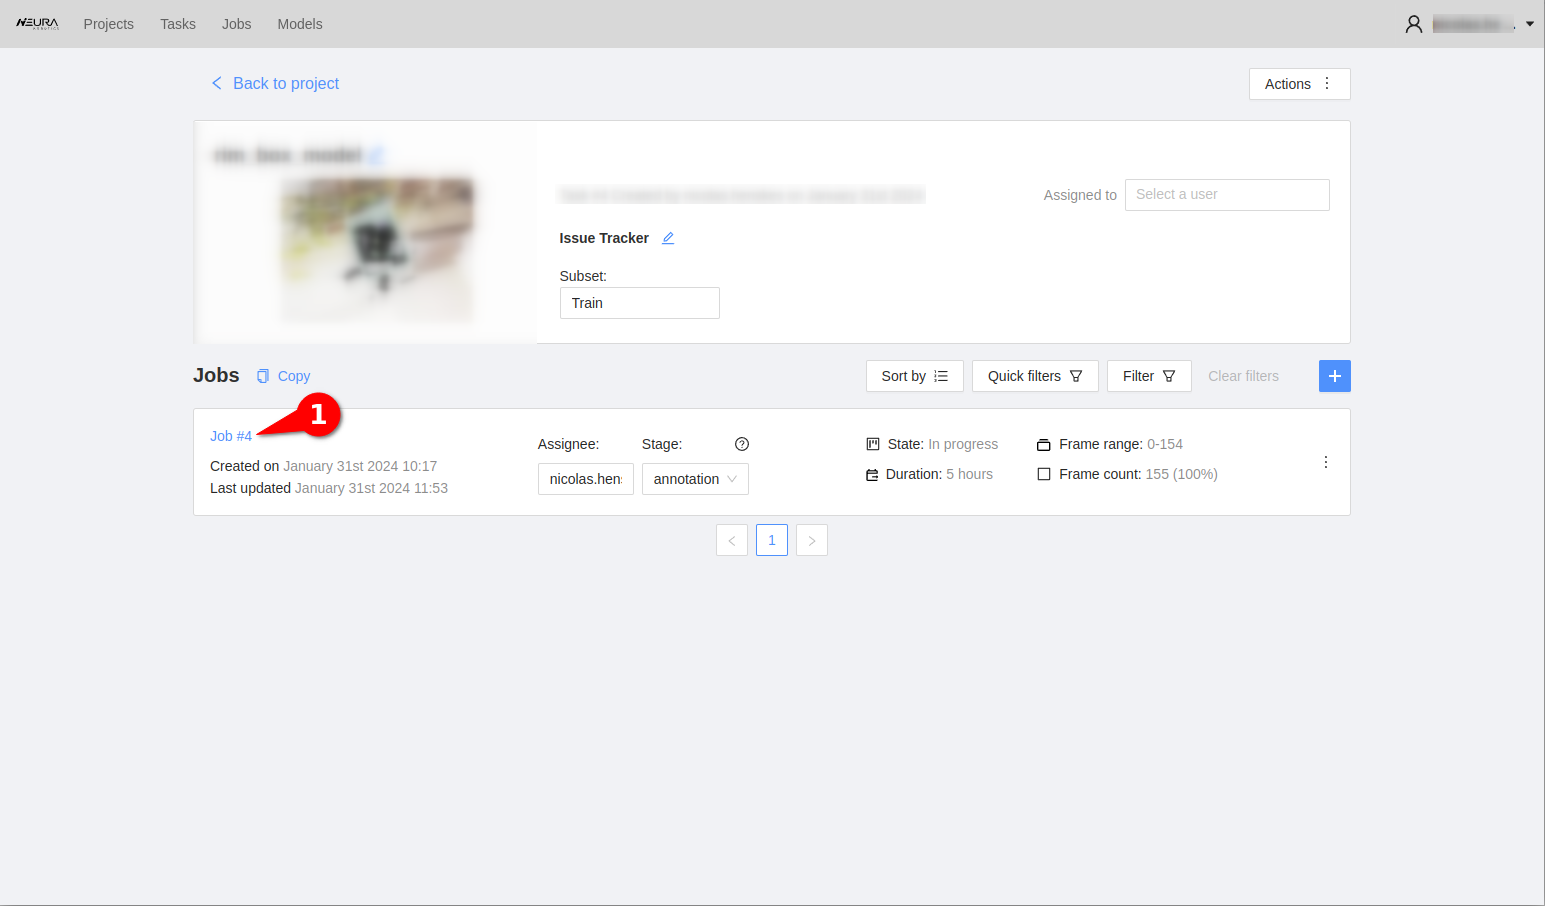
Go to the relevant project & task. Click on the blue Job #X to begin the annotation process. Upon clicking, you should see the images you uploaded along with toolbars on the left and right side of the screen.
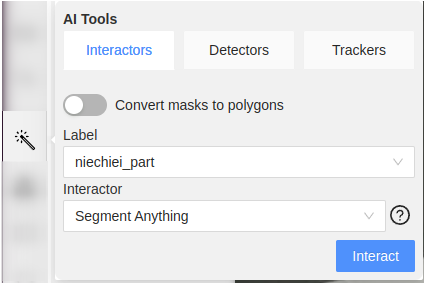
Select the AI Tools button (magic wand icon the left side tool bar) activate the slider Convert masks to polygons and click Interact. A crosshair cursor appears. Click on the object in the image to leave a marker. Wait for ~5 seconds to complete the segmentation inference call.
Now there should be a white, preliminary mask around the object boundaries. Sometimes the mask may only cover the object partially, in such cases, leaving another marker by clicking once more on another section of the object body helps. Once the preliminary mask is satisfactory, press N key on the keyboard to finalize the annotation of the object. Repeat steps 5-6 for all the objects of interest and frames.
Hint
While the AI tool is active, a left mouse click will add a positive marker which ‘includes’ a region. A right click will add a negative marker which ‘excludes’ a region. In some cases where you see non-conjoined masks, using both types of markers can help to create a singular mask.
Hint
For large datasets (>20 images), it is recommended to use the available keyboard shortcuts to accelerate the annotation process, e.g., for frame navigation - one frame back, - one frame forward, activating last used tool .
Full list of shortcuts can be viewed by tapping F1 key.
Once all images are annotated, click on the Save button. See Exporting the Dataset section below for how to export the dataset.
Important
Always label every object - even if it’s partially occluded or only partially in the frame or partially hidden by reflections/shadows. If an object is partially occluded such that there are multiple, disconnected parts of it visible, they still need to be labeled as one segmentation mask. In cvat, this is only possible with masks, not with polygons (deactivate “convert masks to polygons” in the automatic annotation tool)
Exporting the Dataset
Click on Projects on the top left corner to go to the project page. Click on the ellipsis on your project to see more options. Click on .
Choose
Neura COCO 1.0as the export type, activate Save images slider and provide a descriptive name to your dataset. Click .Back in AI Hub GUI, go to section and search for the name of your exported dataset. Refresh the page if you do not see it immediately. Click on the Play button to visualize the dataset.
Video Guide
Note
The video guide reflects the version of the tool as of the recording time and may not reflect the latest interface and features.